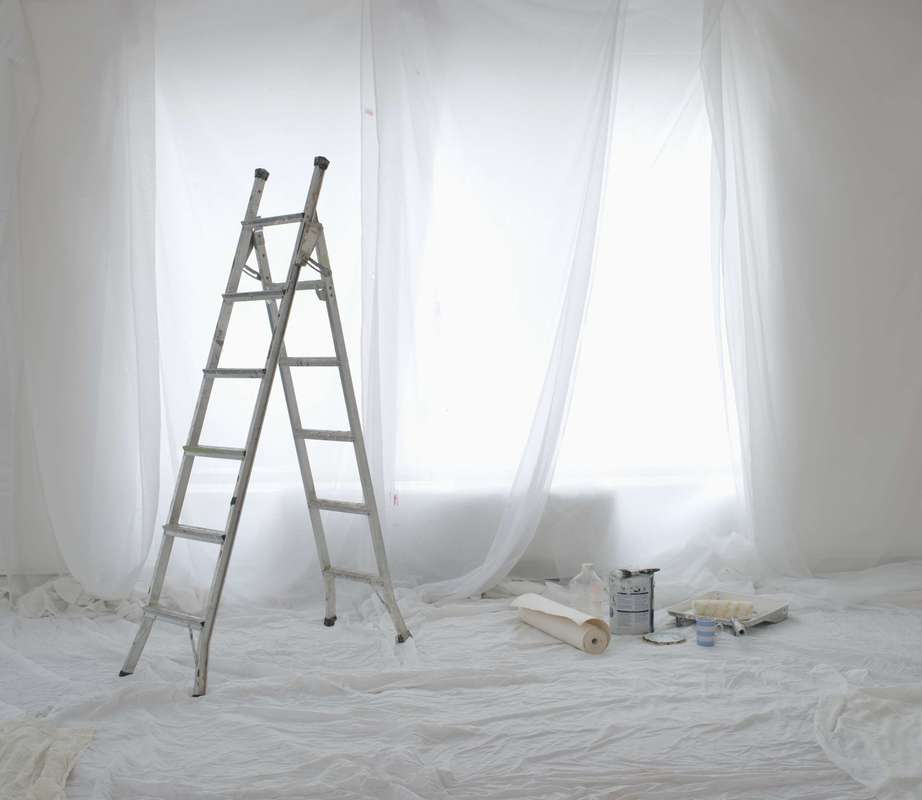
It goes without saying that decision to paint a room is a big one -- so when the time comes, and you finally decide to take that plunge, it is key that you prep your room correctly. Oftentimes, people will forget this crucial step and the results can be absolutely disastrous! In the following paragraphs we’ll examine some of the best ways to prep your room for painting, but always remember that if you have any questions you can call in the experts from a company like the folks at Madani Group Painting & Stucco Coating -- named one of the very best Winnipeg painting companies for a reason!
First and foremost when prepping a room, it is key to get the right kind of canvas drop cloth to ensure that none of the paint drips onto precious carpet or hardwood floor space. These covers are extremely affordable, and there are even certain products that come with a leak proof guarantee which is something that can go a long way in giving you some peace and mind during the remodeling phase. Up next during the prepping process is removing all of the outlets and light switches, this process is pretty self-explanatory but often forgotten, so make sure to do it early on in the prepping. These two steps are the very first things you should do when getting ready to paint and (luckily) should not take too much of your time at all!
Following the removal of light switches and the purchase of canvas cloth the next step is to fill the imperfections in the walls you are going to paint in order to leave you with a nice, smooth finish. Purchase a bit of spackling compound and take a dull knife and scan your walls for cracks and dips -- then simply fill the holes with the putty, wait for it to completely dry and then use some sandpaper to smooth out the entire area. There will likely be a little sandpaper residue left behind, so just take a wet washcloth and remove that real quick!
Once the walls are smooth as can be it is time to put up that painter’s tape and prime the wall! These steps can certainly seem daunting, but there is really nothing to be afraid of. Merely mark off the area where the wall and ceiling juxtapose with painters tape and run some strips of tape along that line. Remember to use the tape liberally and do not be afraid to put up overlapping strips, it won’t harm anything, and it’s better to be safe than sorry. Priming the wall is another key part of ensuring the smoothness of the wall. Using a paint roller, apply the primer in smaller squares at first and then get gradually larger and larger until the entire wall is covered and ready to go!
Painting may seem like a stressful task, but if you develop a strategy beforehand and follow these instructions and you should be able to get this seemingly difficult job done in no time at all!


